Hoof Protection
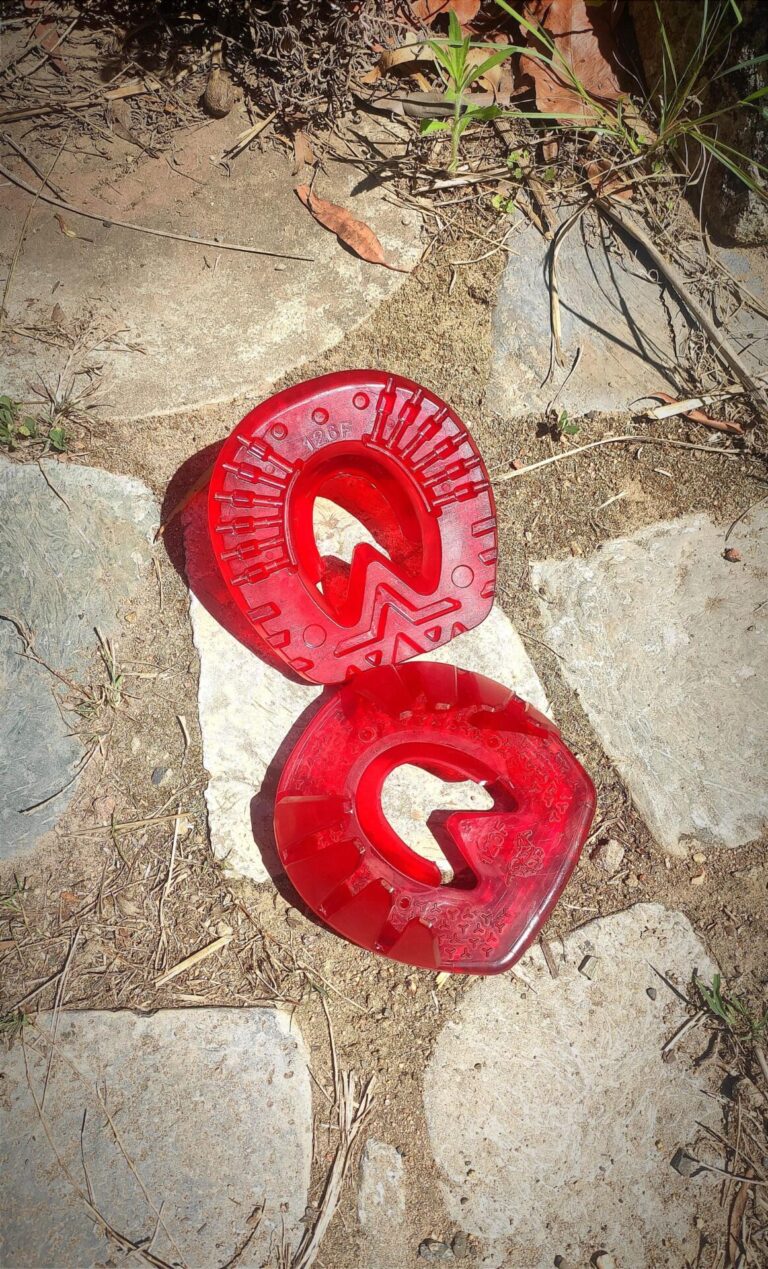
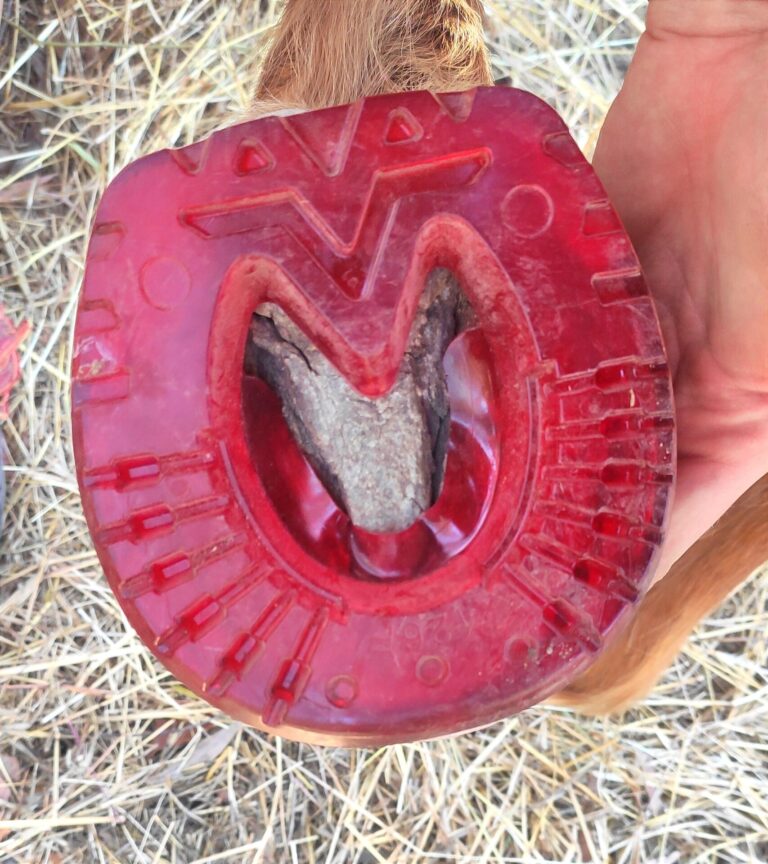
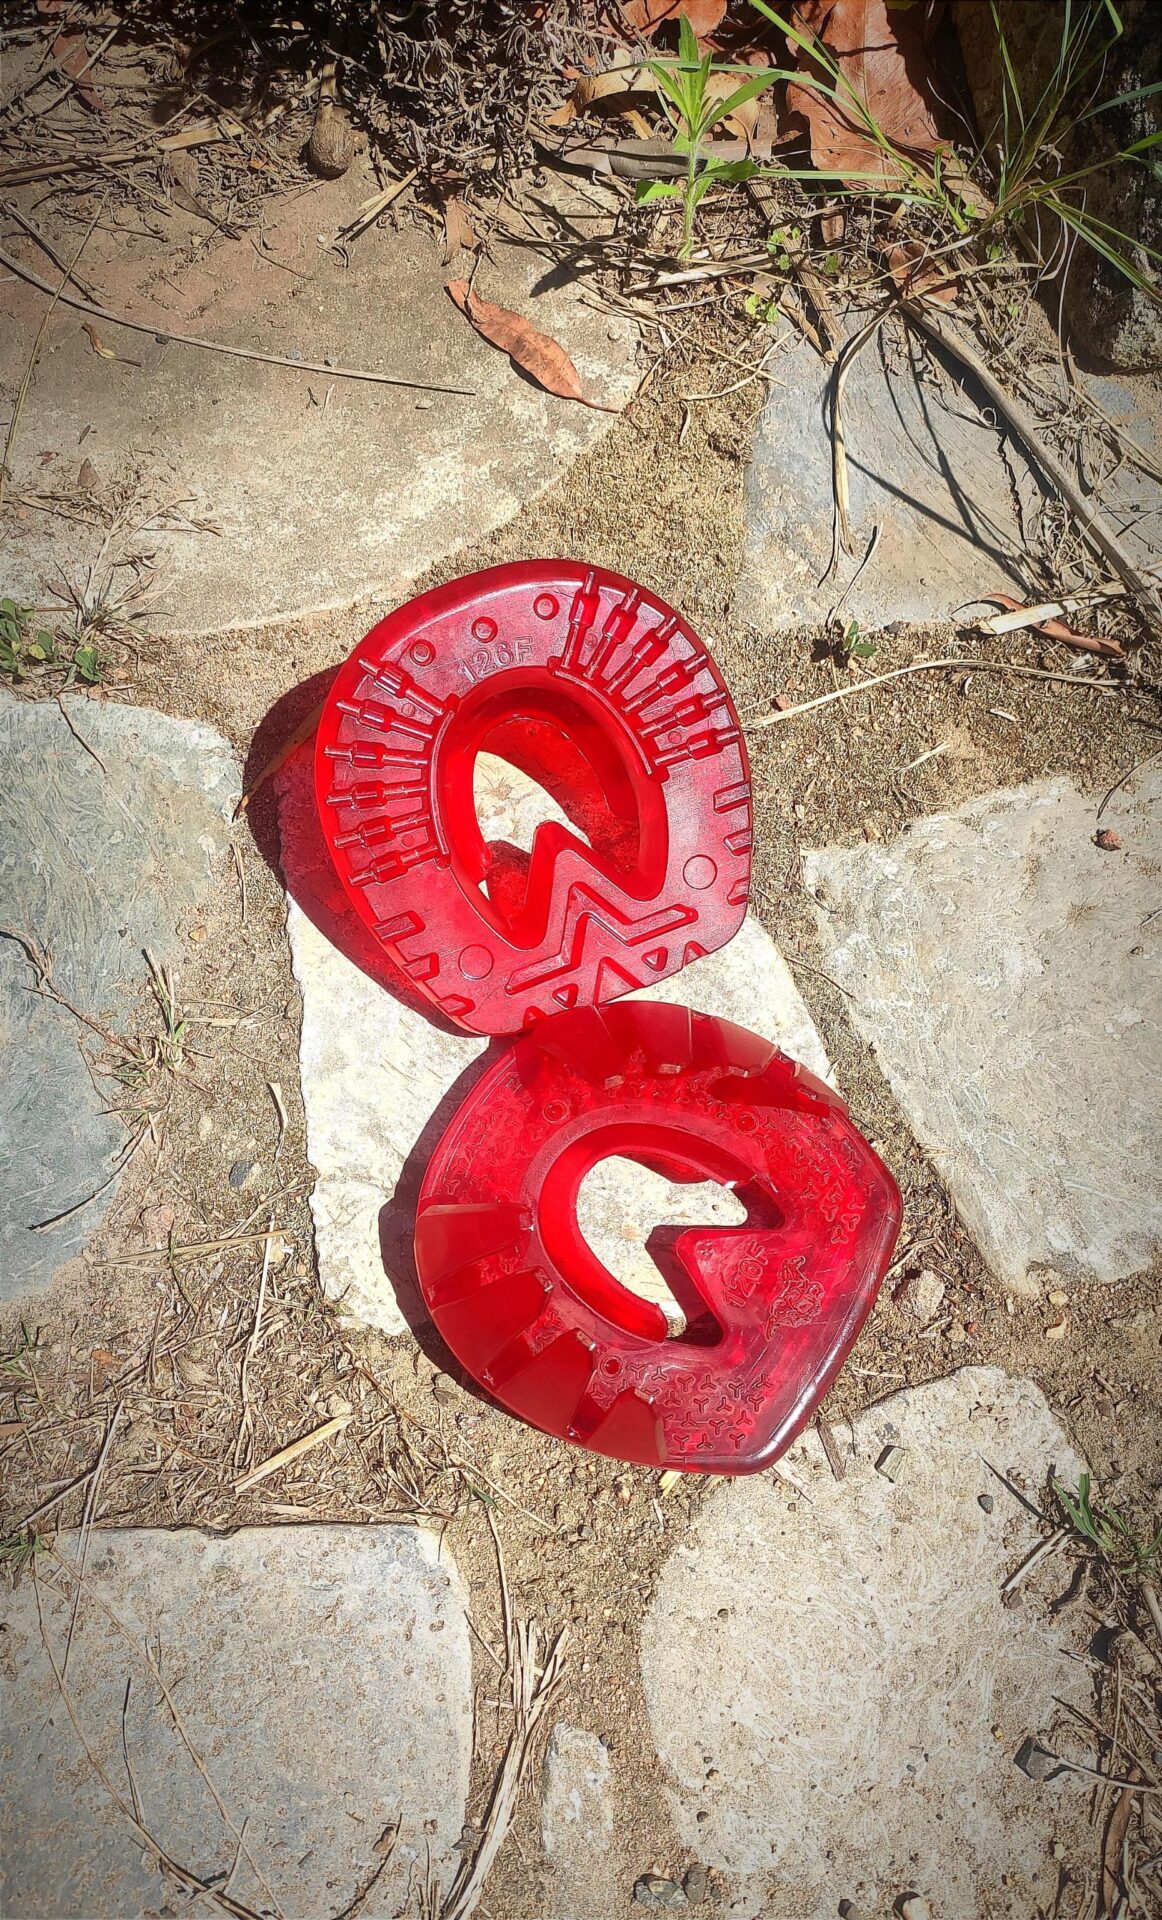
Our main concern for far rides is excessive wear and puncture injuries. After research and trial and error our chosen hoof-wear for this trip will be glue-on horseshoes instead of boots.
They’re lightweight (200g vs 400g boots), can be left on throughout a trim cycle, are durable and….also easily customizable!
The Versa Octos are easy to apply with superglue which means all we need to take on the road is sandpaper and superglue. Compare this to boots, spare parts and tools to repair the boots….the weight added up quick. Plus there is the time component of having to put on and off, twice a day as well. Glue-ons worked out a much easier option for needing to be quick, easy, lightweight and tough!
We dye our Versa Octos shoes for fun….and because it makes them a lot easier to find if they come off.

Materials Needed:
-Versa Octos (polyurethane horseshoe)
-Rit DyeMore Synethic Dye (any colour your heart desires!)
-Pot (Use a pot that allows for complete submersion of the shoes while they’re on the rack).
-Roasting rack
-Tongs
-Salt
Steps
- Place the roasting rack in your pot.
- Fill your pot with water to a level that will submerge the shoes when they’re placed in (remember the water level may rise slightly once you put them in).
- Add 1 tbsp of salt and stir to dissolve (this is important for getting the water temp high enough without boiling over).
- Bring water to just under a rolling boil and maintain.
- Add the dye and gently stir (we added the whole bottle but we decant and reuse).
- Add your shoes and make sure there is minimal touching between shoes. The shoes must not touch the bottom of the pot to prevent damage and they must be completely submerged to be fully dyed.
- Maintain heat and gently stir for at least 10 minutes. Move the shoes a few times to make sure all areas of the shoes are exposed to the dye.
- Remove shoes and check color. The longer the shoes are left in the dye, the deeper and darker they become. Repeat previous step for an additional 5 minutes if you desire it.
- Allow the shoes to cool down on a flat surface.

Once they’re cooled and dry, they’re ready to apply! We haven’t noticed any impact from dyeing on the gluing process thus far.

Total time to dye the shoes is about 30 minutes, so it’s a quick and easy process to add a splash of fun.
The gluing process is quick and easy too. I do it all while the horses are having their morning or evening meal, as they’re much more content to stand still. I’m by far no expert but what I can tell those wishing to try this option, is hoof prep is key and wear gloves!


Something new we’re trying for Glory is a dab of polyurethane glue on the rear tabs to make them a bit wider and fill the gap. Hopefully it comes off with the tab when reapplying.

